Hi! I'm Taryn, a writer, designer and soon-to-be-bride from Atlanta, Georgia. Sit a spell with me and catch up as I plan the wedding of my beer-loving, confetti-throwing dreams to the wonderful Mr. Williford.
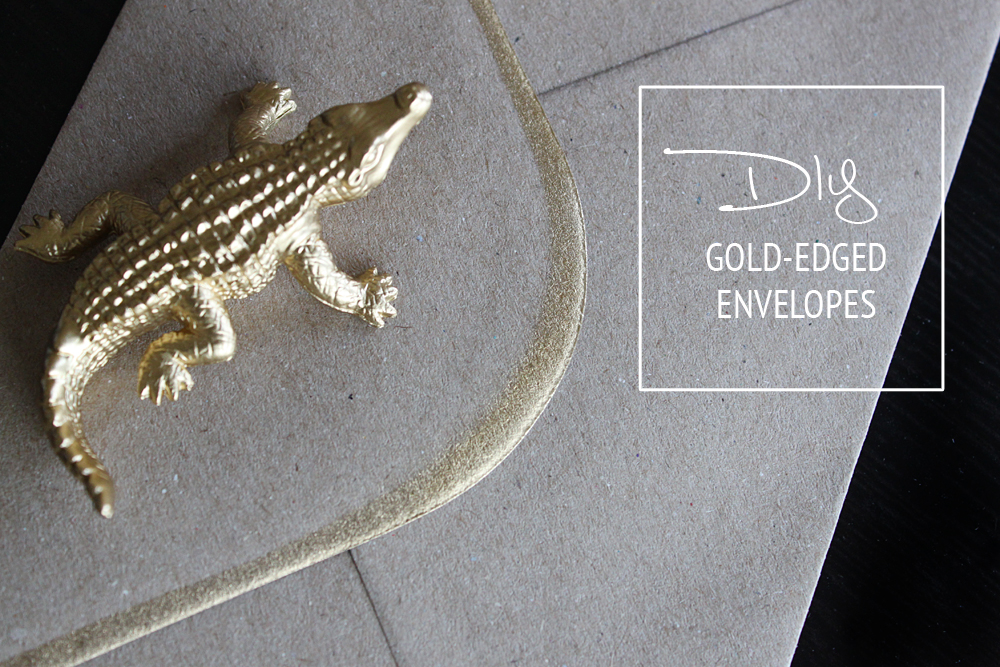
Save the Date: DIY Gilded-Edge Envelopes
Out of everything associated with throwing a wedding, I’ve been the most excited about the paper. As a graphic designer, I keep looking for ways to inject a little of our personal style into the paper products involved in our wedding.
Most recently, I’ve been designing and putting together our Save-the-Dates. We decided to print them with Moo because we both loved the weight of Moo’s Luxe postcards, but we ended up with a weird size of card that fits a weird size of envelope …which we could only find from Moo. Stuck with their basic kraft envelopes, I looked for a way to add a little sparkle.
I was going after figurative sparkle, of course, but I quickly found some inspiration to add some literal shine to our boring envelopes. Amanda of 100 Layer Cake used gold spray paint to paint the edge of her wedding invitation envelopes, and it looked like just the thing to easily customize our Save-the-Dates!

100 Layer Cake
Amanda used other envelopes as a stencil for spray-painting a clean edge, but I don’t have many to spare, so I tried out a different technique. Here’s my tutorial on creating a foolproof stencil to give envelopes a modern gold edge.

Materials:
- Chip board; I got this pack of 25 sheets at Michaels for around $10
- Metallic Spray-Paint
- Uhhh… your envelopes?
- Really that’s it.

To make the stencil/guide:
1. Unfold the flap of one of your envelopes and use a pencil to trace around it in the center of one of your sheets of chip board.
2. Draw a line on each side of the outline to mark where the fold of the envelope sits.
3. Using an envelope, trace a new line for the flap just inside the one from the original outline. Mine is about ¼ inch away; this gap will determine the size of your edging.
4. Uncle Joey, it’s time to CUT. IT. OUT. Cut along the second flap line you marked in step three, then cut along the fold line to the edge of the chip board. Leaving the chipboard below the fold line intact means you can cover the entire part of the envelope you don’t want to spray.
You can stop at step four and get right to spraying, if you want. But I recommend making a lot of stencils. So…
5. Trace your stencil onto other sheets of chipboard to make multiple stencils. I had 50 envelopes to spray, so we made 5 stencils to spray them. It gives you flexibility to spray several envelopes at once, plus keeps you from using the same gunky stencil after a dozen or so sprays.
6. Cut ’em out! Marvel at your unmatched craftiness!
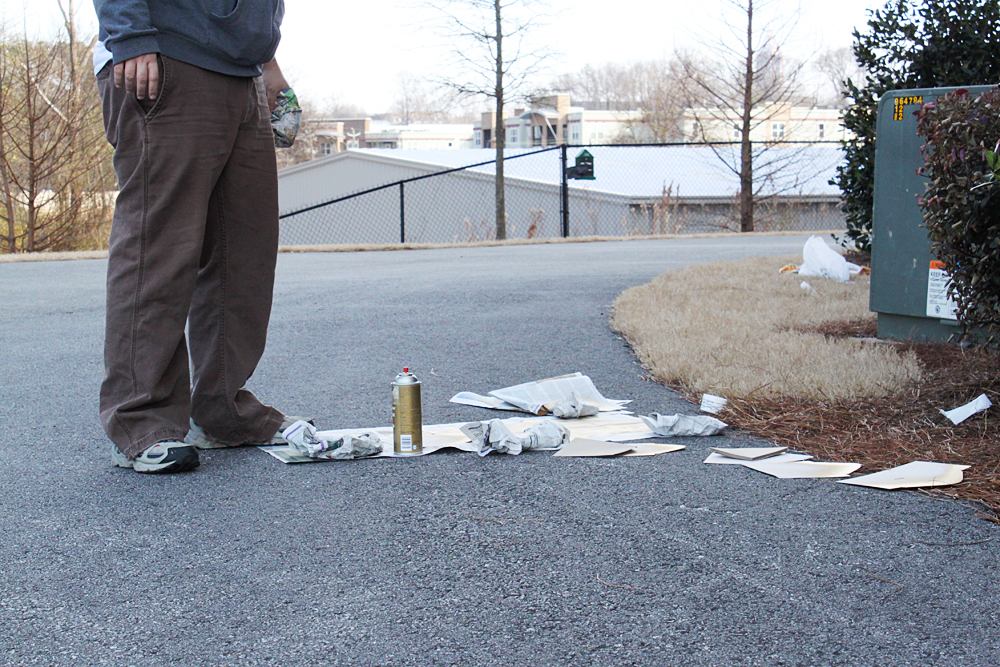
With your stencils in-hand, you’re ready to head out to a well ventilated space and get spraying. From here, it’s pretty easy to see what happens next:
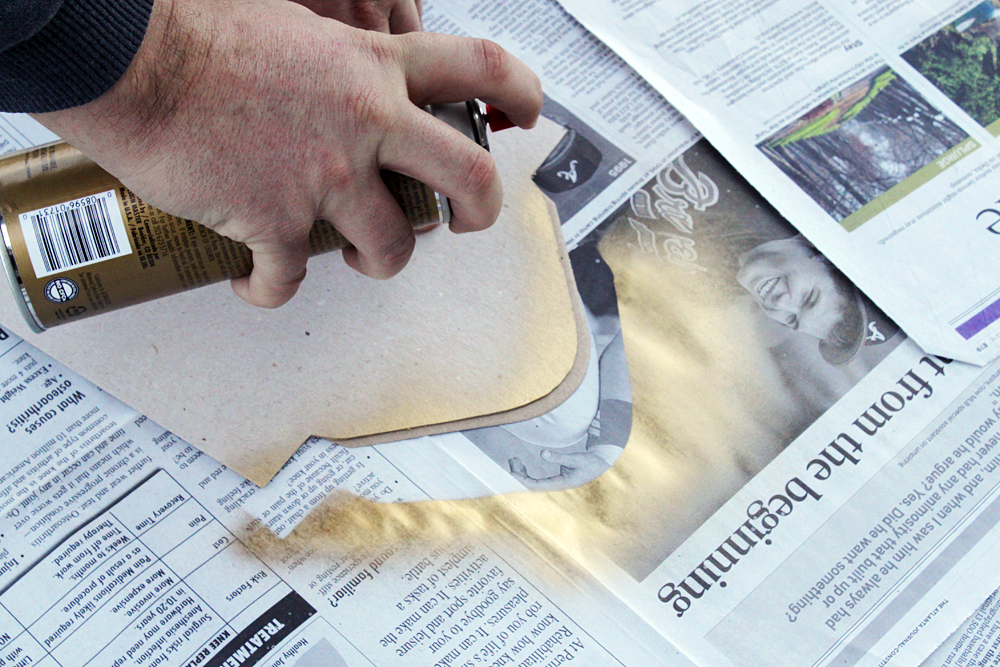

Place your stencil on top of an envelope, leaving just the edge peeking out, then give the edge a good pass with your spray paint from around 6 inches away. Once you lift your stencil, you should have a finished envelope below.
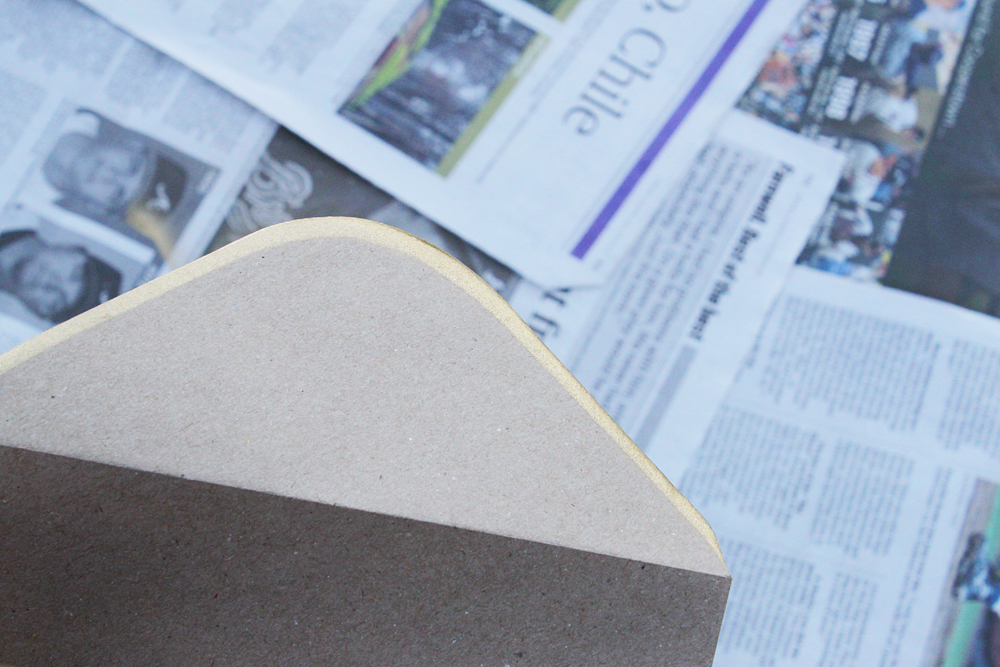
It does need just a moment to dry (especially if you have a heavy hand with the spray paint), but it will be ready to pile and stack in 30 seconds.

Boom! Beautiful envelopes.
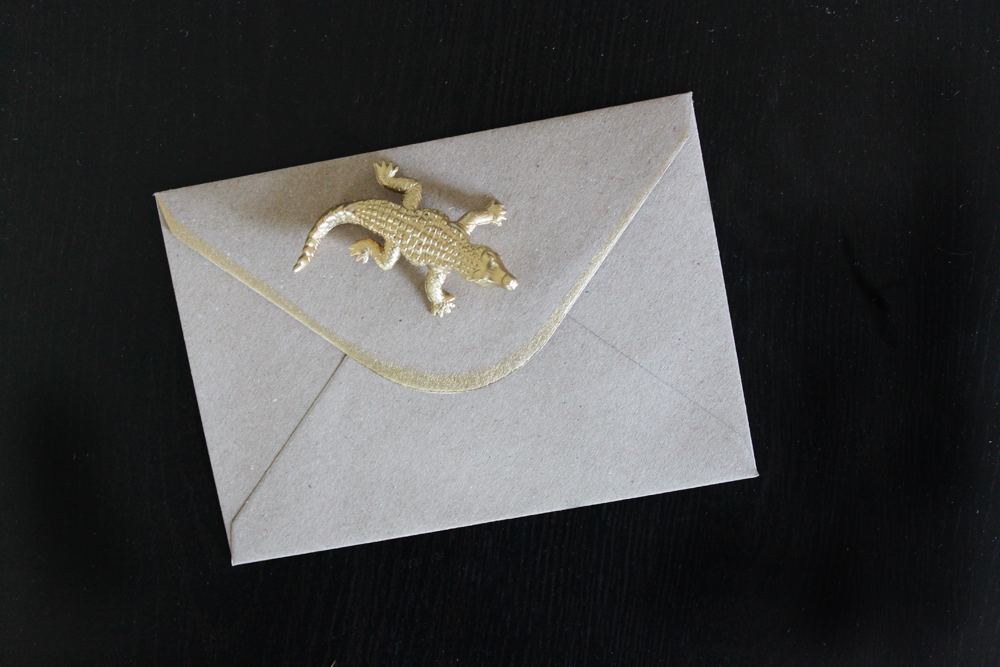
It looked really great with our Save-the-Dates, too.

It really is as easy as it sounds, and I would recommend this project to anyone looking to add some literal or figurative sparkle to their envelopes.